There are a number of ways to turn your blog visitors into regular readers. You can make your users follow you on social media or collect their emails so you can email them when you post something new. A problem with social media such as facebook is that when you post something, it does not reach all of your audience. Emails might end up in the spam or at least in the social or promotions folders.
Push notifications are something that can prove to be more effective than the above two options. Push notifications include web push notifications and push notifications for Android or IOS apps. Web push notifications are free to integrate into your blog in many cases, but, if you want an app, you have to pay a developer. Paying a developer should be ok if you are making enough from your blog. But those of you who are new to blogging and do not have enough money in the pocket to spend on an app or you just not want to pay a developer but still want an app with good user experience and the ability to send push notifications, I have created this open-source project for you. In this tutorial, I will be teaching you how to use it to create an app for your blog without any knowledge of programming.
About the Project
This project is targeted for people who do not have knowledge of Android Development. You will use this project with Android Studio to create an app for your blog. The modifications in the app are limited but very easy to implement. You can sign the app with your own certificate and also upload it to Google Play Store. The app can also be modified through admob ads. You can view or download the code of the app from its github page.
Create your own app from this project
Now you are actually going to perform the steps required to take my project and create your own app from it.
Before You Start
You need the following things before getting started:
- A computer or laptop with at least 4GB of RAM. If your machine does not satisfy this requirement, please do not waste your time in messing up with Android Studio.
- Android Studio installed. You can download Android Studio from here for the operating system you are using on your machine.
- An android device and a USB cable to hook it up to your computer.
Set up the Project
After you are done setting up Android Studio, you have to download the project and open it in Android Studio. Download the project by clicking the button below:
Now you have to extract the downloaded ZIP file using any program. If you are in Windows, simply right click the file and select Extract Here. Remember the path where you extracted it because we will need it in upcoming steps.
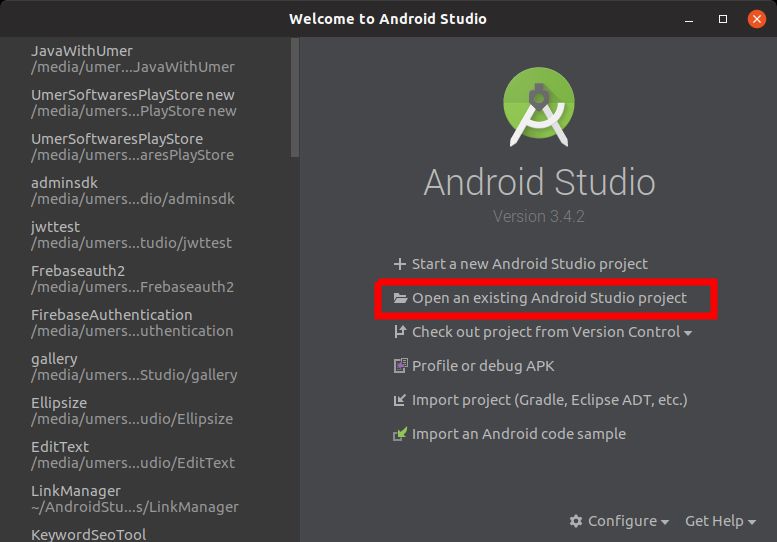
Now open Android Studio and select the option “Open an Existing Android Studio Project”
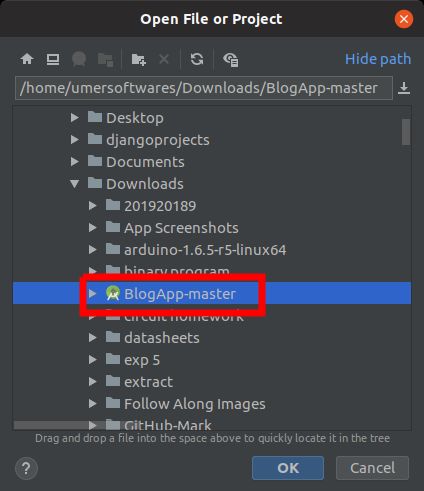
Navigate to the directory where you extracted the ZIP file and click OK. Make sure that you select the folder with a little Android Studio icon.
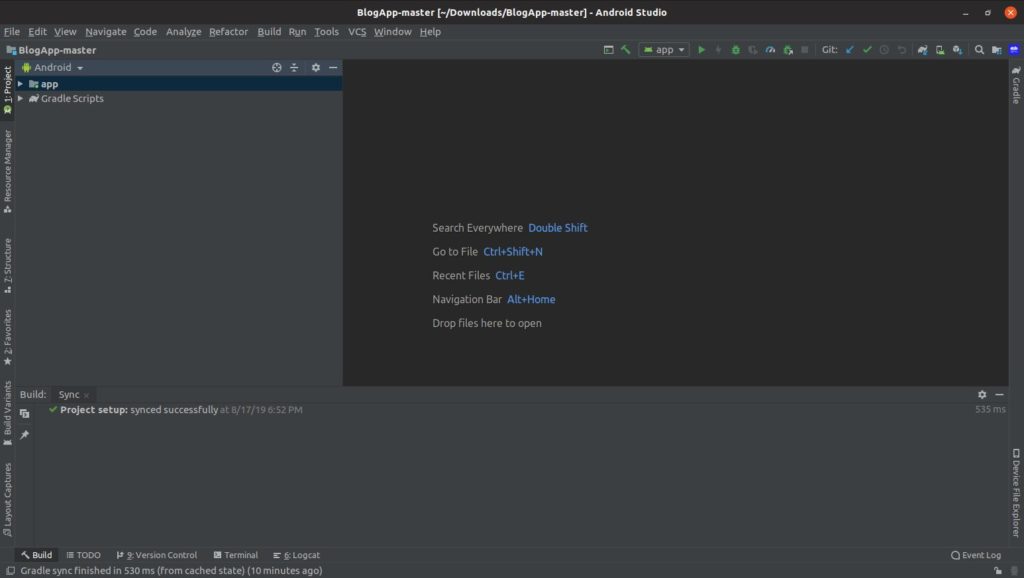
The project will open in Android Studio. It will look like this.
Start the Customization
Modify the package name
The first thing to do is to modify the package name of the app. IIn the left pane, expand the app directory then java directory and then the com directory.
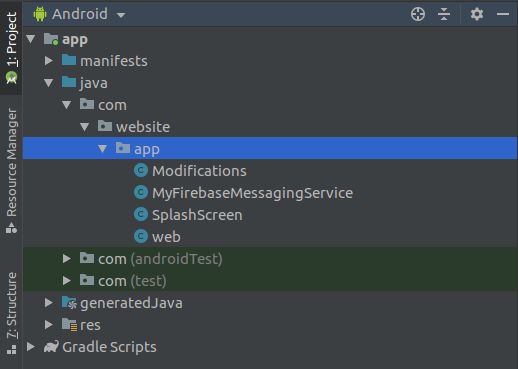
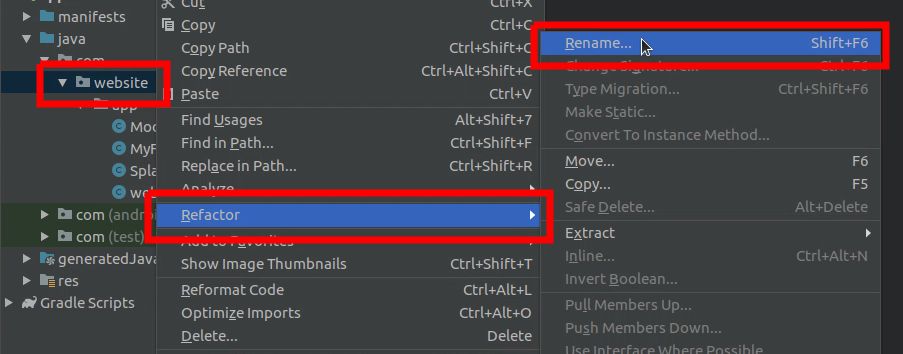
Currently, the package name of the app is com.website.app. You will replace the website with your own website name. For example, I will change it to com.umersoftwares.app. To upload an app on Google Play Store, its package name should be unique i.e. it should not match any other app on the Play Store. The package name should consist of lowercase letters only and should not contain any space i.e. I can replace website by umersoftwares but not UmerSoftwares. To replace “website” by “umersoftwares” in the package name, I would right-click on the website folder, select Refractor and then Rename.
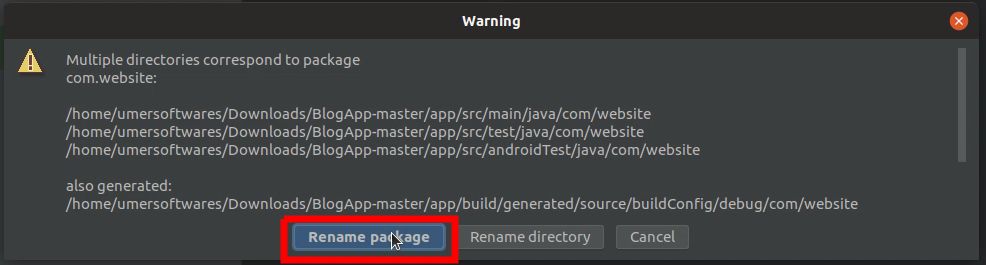
Then select the Rename Package option.
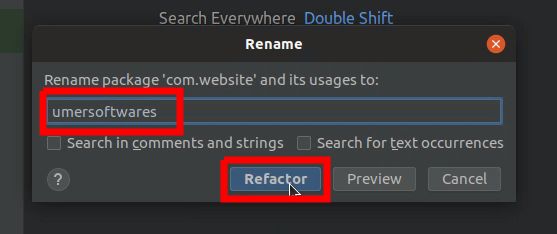
Replace the word “website” with your own desired word. For example, I would change it to “umersoftwares” and then click Refractor
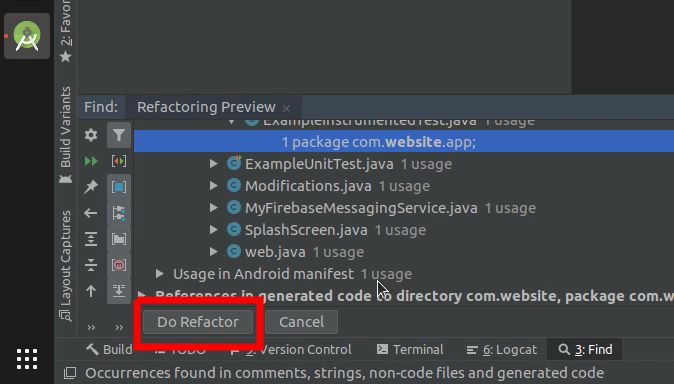
Let it do the processing. Then in the lower-left corner of the screen, click on Do Refractor
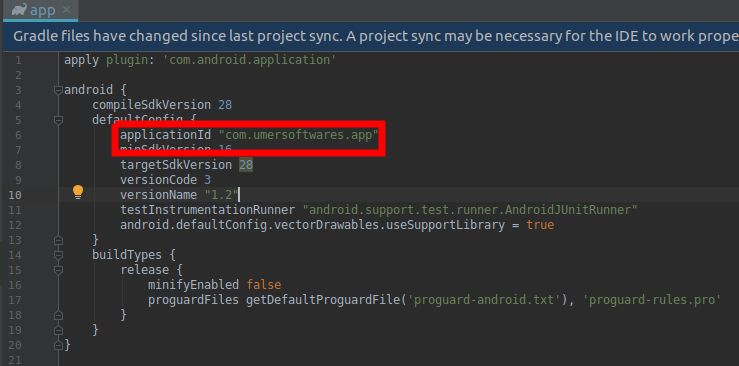
You need to change the package name at one more place. Open the folder Gradle Scripts and select the build.gradle (Module:app) file.

Change the package name against the applicationId option. Note that the package name is enclosed in double quotation marks.
Modify the app name
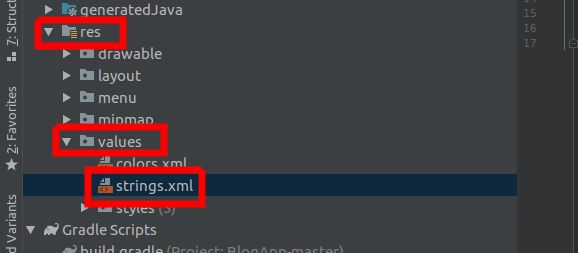
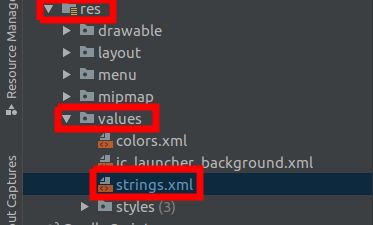
Open the res folder. Then expand the values directory and open the strings.xml file.
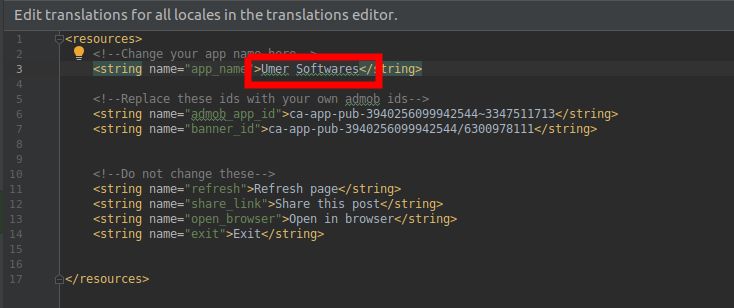
In the strings.xml file, change the app_name from “Blog App” to whatever you want your app’s name to be. Like I have changed it to “Umer Softwares”. Keep this strings.xml file open because we will need it later to customize some other things.
Change the URL which the app initially loads
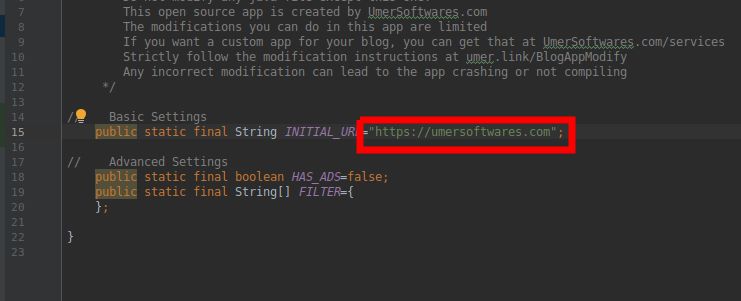
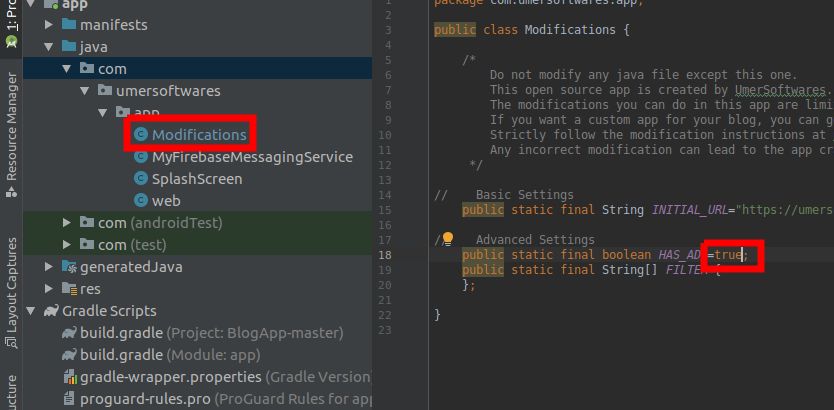
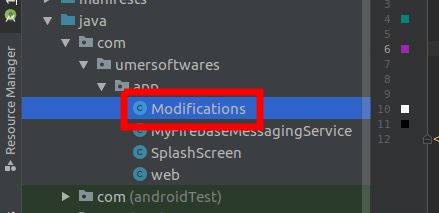
Open the file Modifications from the app directory in the right pane. You have to replace the url “example.com” in the file with your own blog’s link.
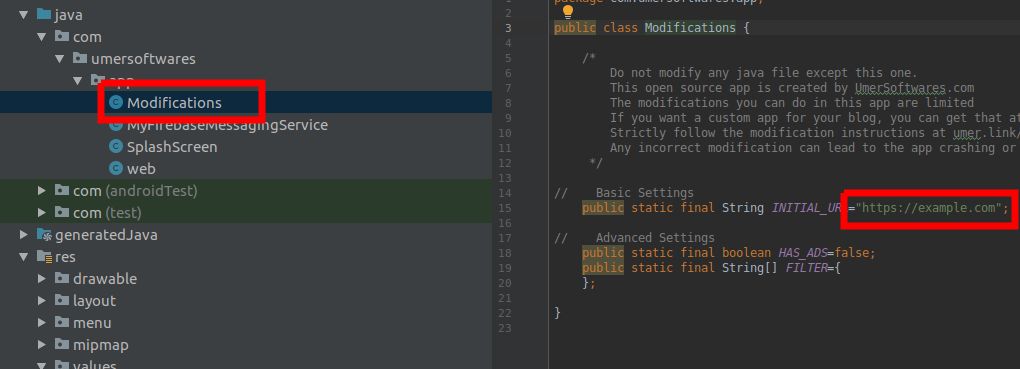
I have changed the link to https://umersoftwares.com. Make sure to include either http:// or https:// with the URL otherwise it will lead to errors. Also, notice that the URL is enclosed in double quotation marks and the line ends with a semicolon. Do not disturb the syntax.
Change the Splash Screen icon
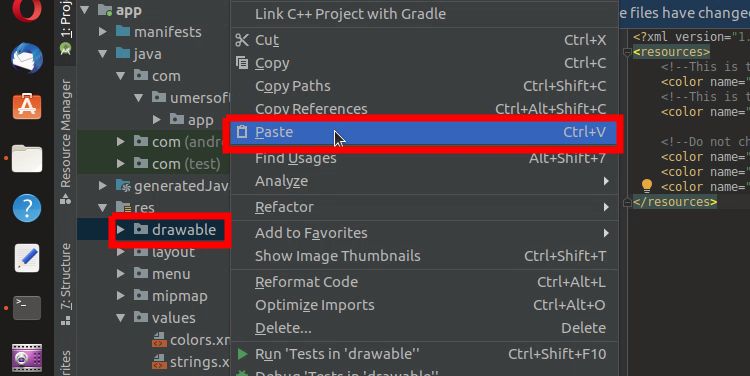
If you don’t already have an icon for your website, you can create one for free at canva.com or use the namecheap logo maker. Resize your icon to 200 x 200 and save it in the png format with the filename as logo.png. Copy the logo and in Android Studio, right-click the drawable folder under the res folder and click paste.
Select the drawable folder. Don’t make the mistake of selecting the drawable-24 folder otherwise your app will be crashing and you will not know the reason.
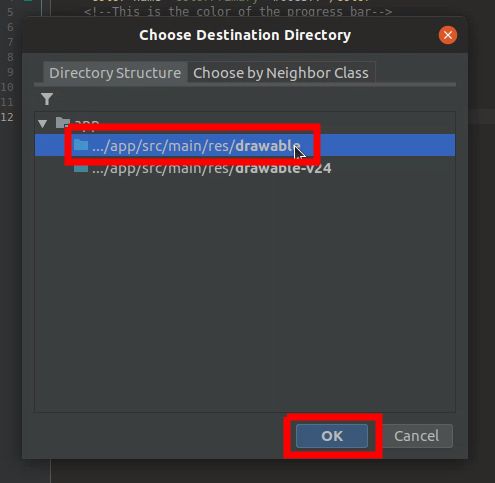
Make sure the name is logo.png and select OK.

You need to replace the old file with this new one. Click on Overwrite to do that.
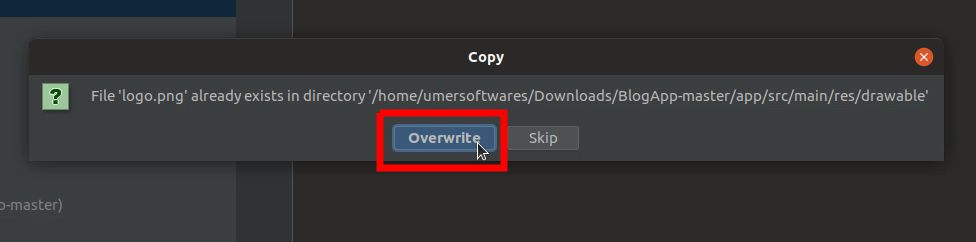
The splash screen icon has been changed.
Change the app icon
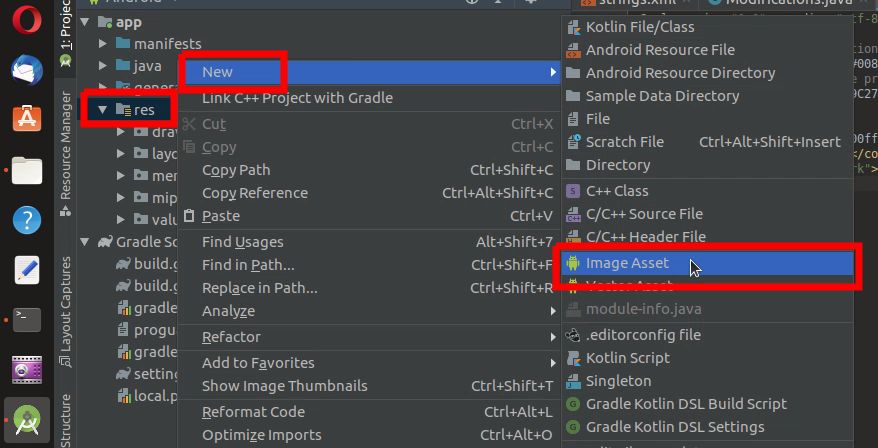
To change the app icon, right click the res folder and select New > Image Asset
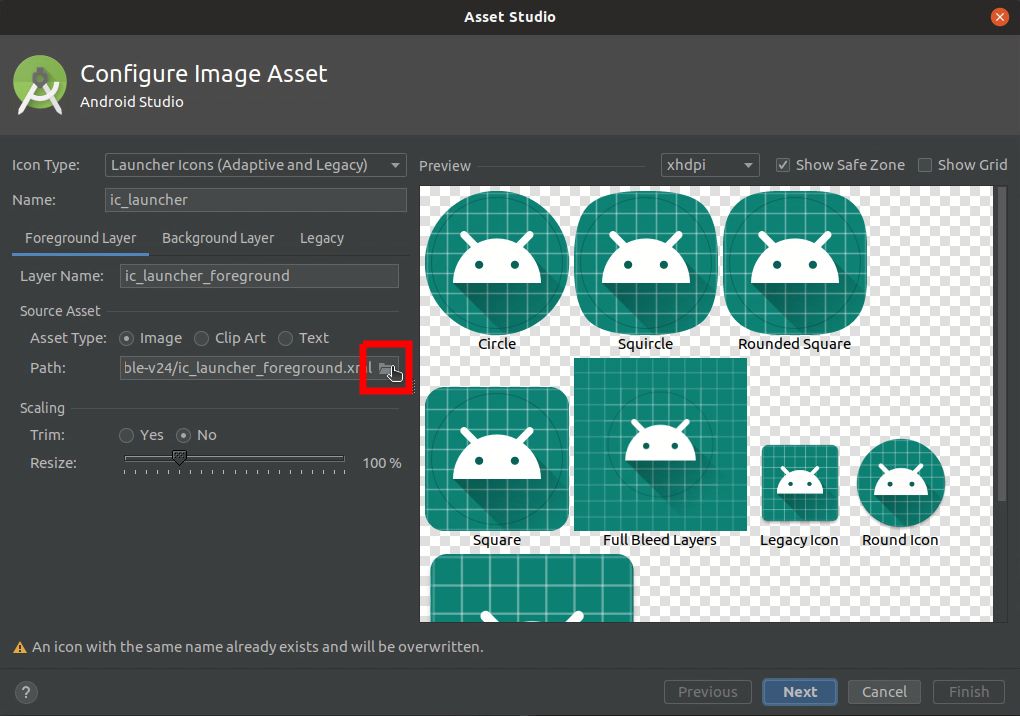
Click the “Select a file” icon shown in the screenshot below.
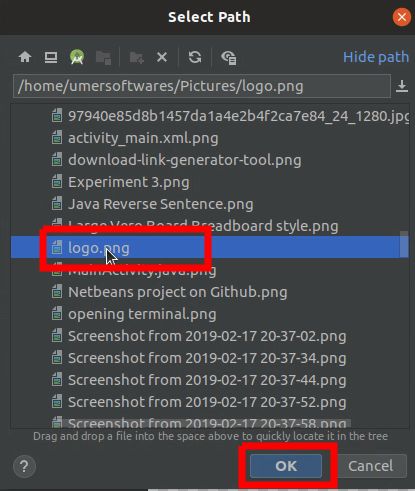
Navigate to your icon file and click OK
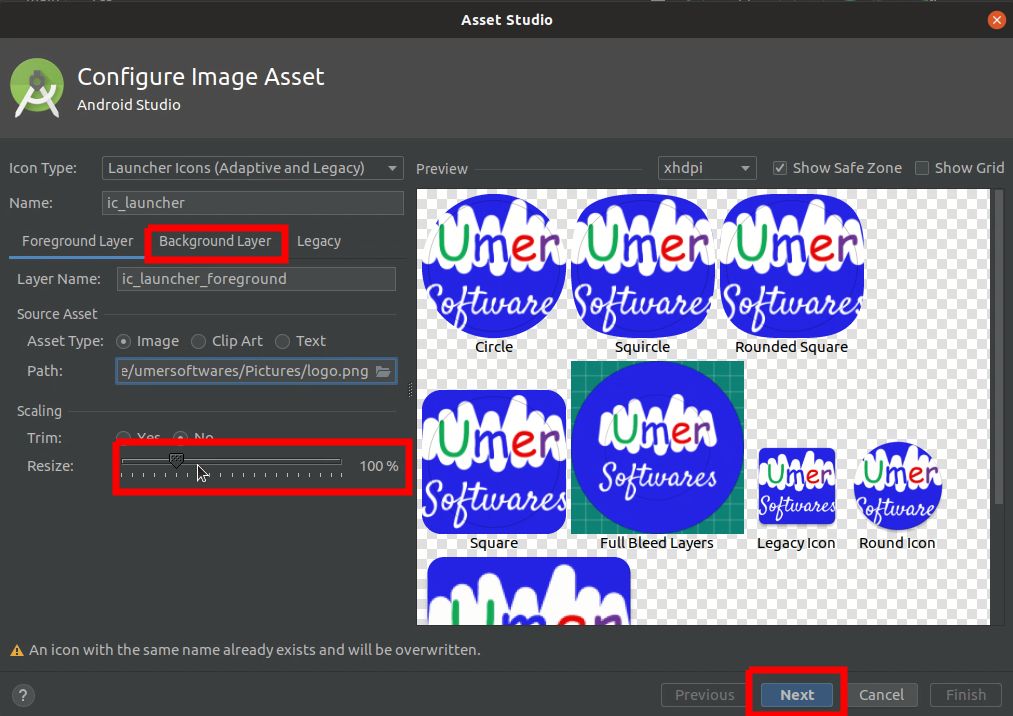
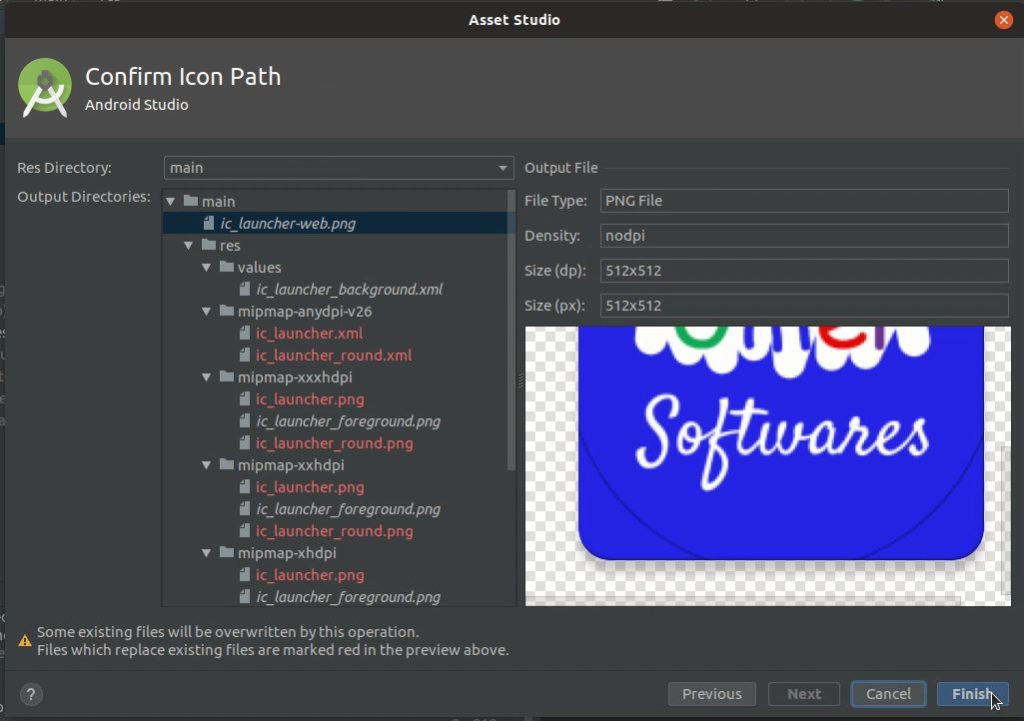
Adjust the size of the image using the slider. Use the background layer tab to change the background of your icon. In the right pane, make sure that your icon looks good for every icon shape. Once you are satisfied, click Next.
Click Finish on the next screen. The launcher icon of the app will be changed.
Add admob ads
For this modification to work, you should have an admob account. First you have to add the app in admob and get the necessary information as told in points below:
- Follow this guide to set up an unpublished app in admob.
- Then follow this to add a banner ad to your app in admob.
- Finally, follow this to obtain your admob app id and the banner id.
Open the Modifications file and set the HAS_ADS variable to true. Note that the first ‘t’ of the “true” is lowercase and the line ends with a semicolon.
Now open the strings.xml file from res > values folder.
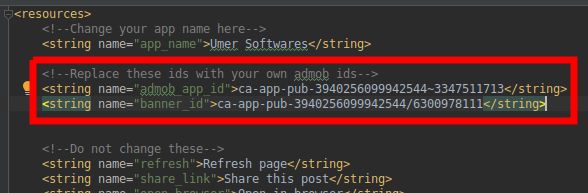
The sample admob ids are highlighted in the screenshot below. Replace the first one with your own admob app id and the second one with your banner id.
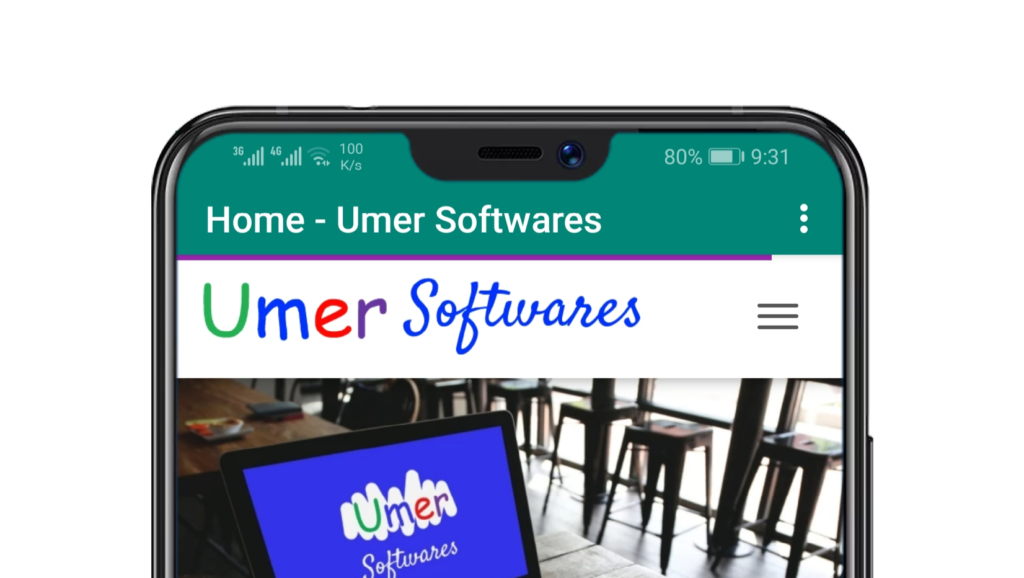
Change the Colors
This modification is optional. You can skip it if you want. I have added the option to customize the top action bar color (currently green) and the progress bar color (currently purple). You can see both in the screenshot of the app.
Open the colors.xml file from the res > colors.xml
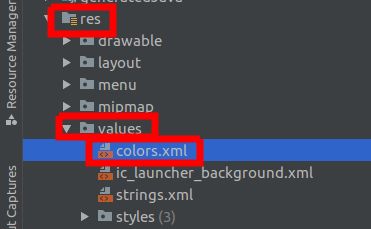
Click the color boxes in the left pane to change the color. The colorPrimary is for the action bar and the colorAccent is for the loading bar. You can change these colors to match the colors of your website. You can also replace the hex code of the color (If you already know what hex code is)

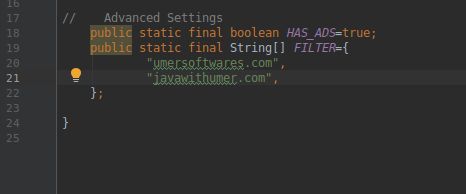
Add a URL filter
This setting is a little bit more advanced. If you don’t understand, don’t mess with it. You can skip to the next modification.
If you like only the links of your website to open in your app, you can use this feature. For example, if I want that all the urls from UmerSoftwares.com should open in my app and if user clicks a link on my website that does not belong to my website (e.g. Play Store link, WhatsApp link or any other link not from my site) that link should open in the respective app or the browser, I would use this setting.
Open the Modifications file if you have closed it. We used it in modifying the app name.
Add all the websites you want to open in your app in the FILTER array. Keep the following things in mind:
- The link is without www or http or https
- The link is entered inside the curly brackets { } of the array+
- Every link is enclosed in double quotation marks ” “
- After every link, there is a comma
An example is shown in the screenshot below. Please see it carefully and read the rules once again before applying this setting.
Register the App on Firebase for Push Notifications
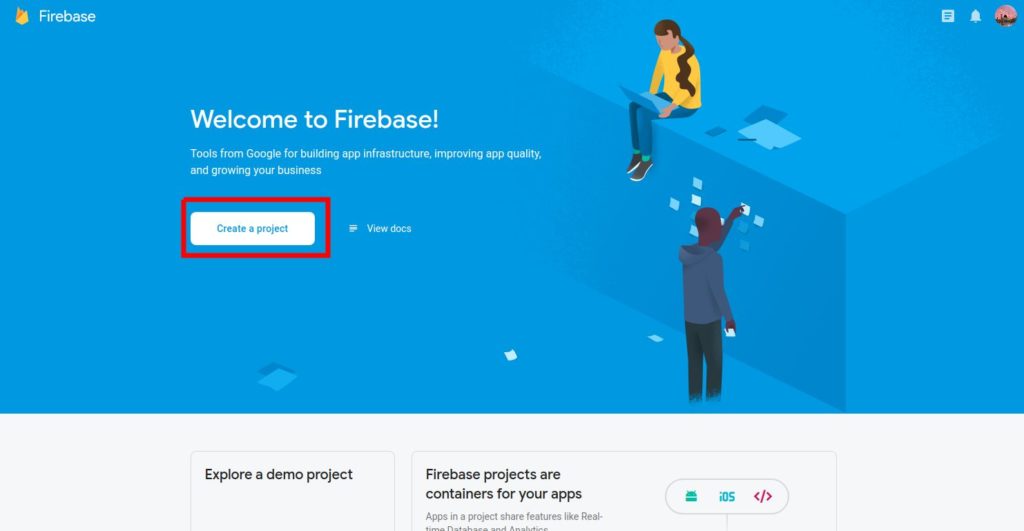
Visit console.firebase.google.com and click on Create a Project
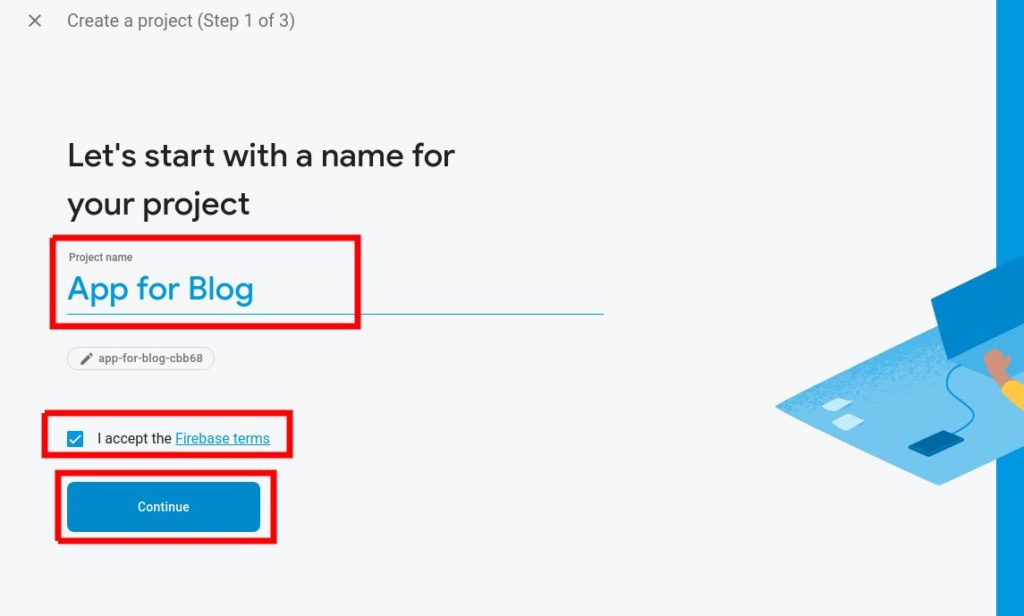
Enter any name for the project. Accept the firebase terms and click Continue
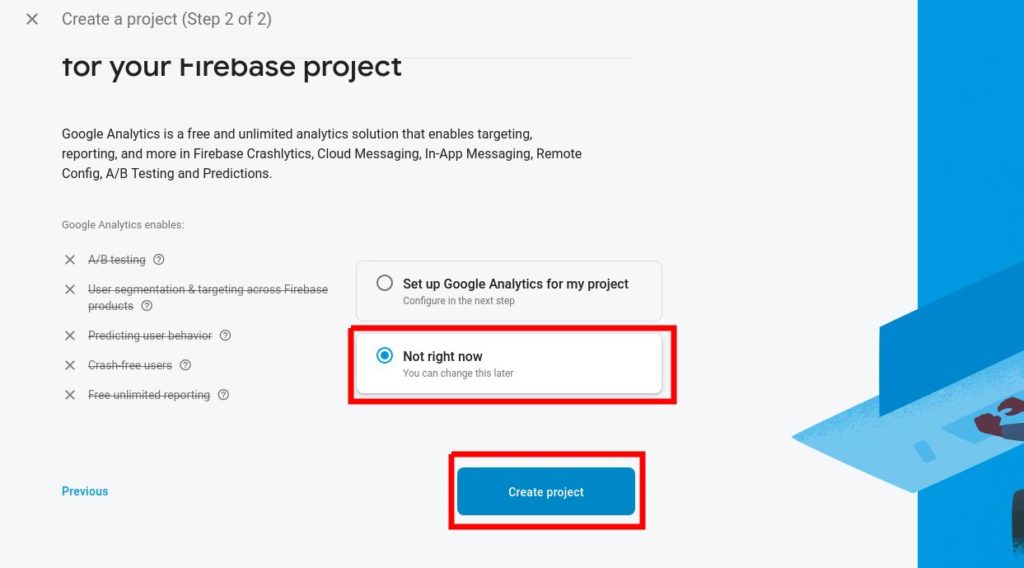
In the next screen, select the Not Right Now option and then click on Create project
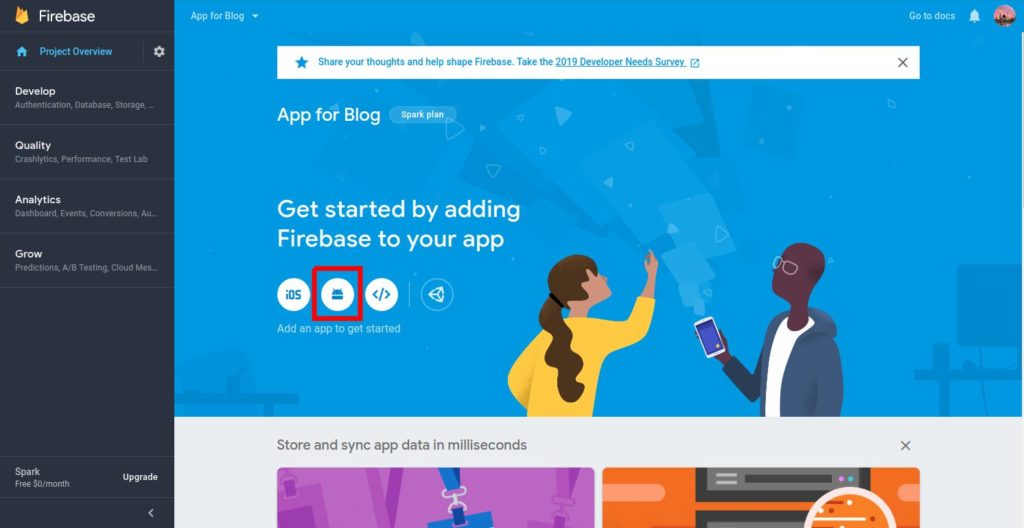
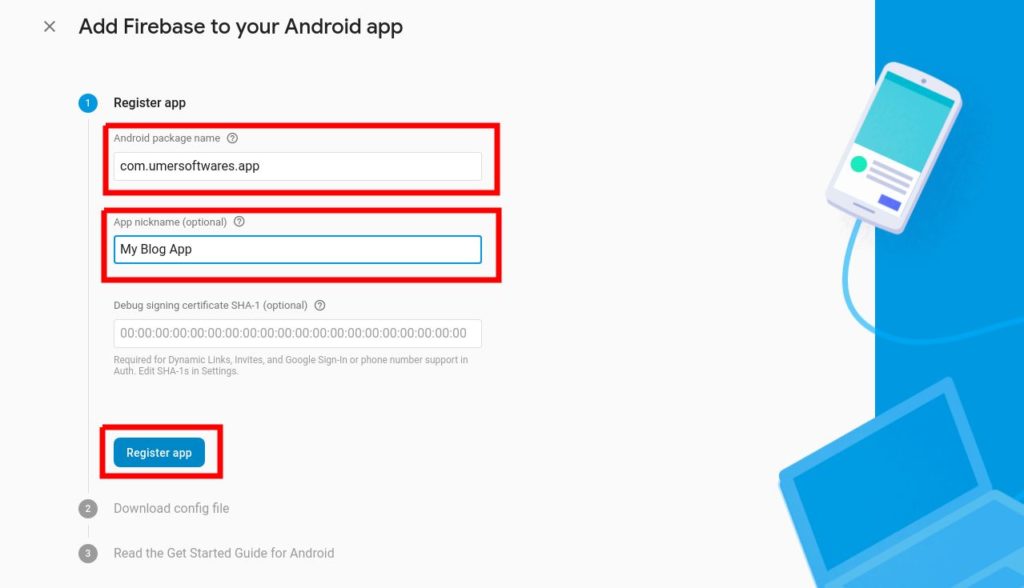
In the next screen, click on the Android button to add a new Android app.
Type in the package name of the app and its name and then click on Register App
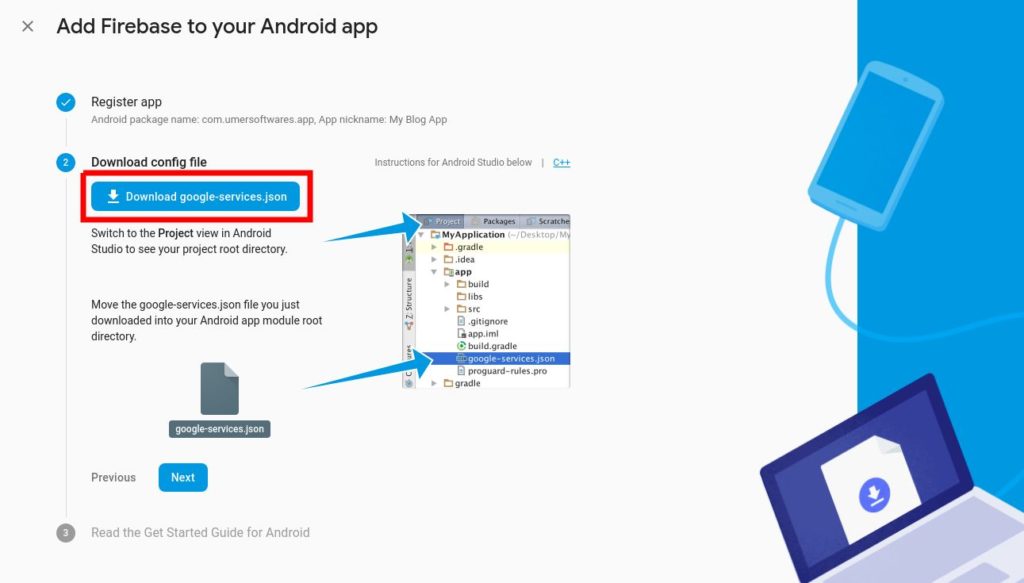
In the next step, download the google-services.json file. When the file is downloaded, copy the file because we will be adding it to our Android Studio project.
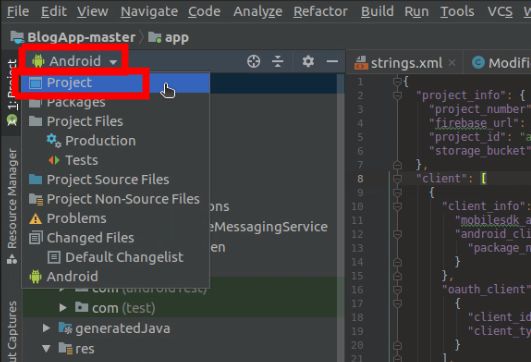
In Android Studio, click the drop-down in the top left corner of the screen and select Project from the menu.
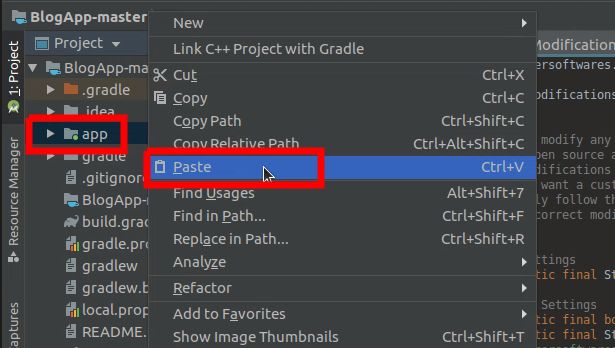
Right Click the app folder and click on Paste
Make sure the file name is google-services.json and click OK
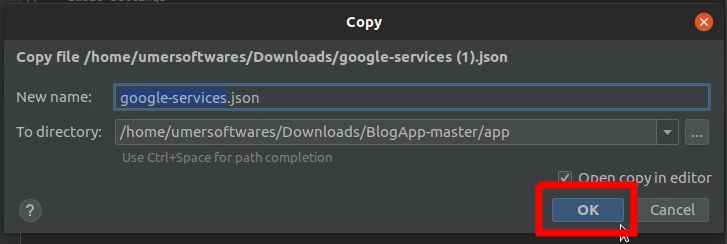
A dummy file is already present in the project. You have to overwrite it. Click the Overwrite button to do the operation.

Generate Signed apk
In this step, you will generate a signed apk. If you want to upload your app to google Play Store, it should be in the form of a signed apk and not an unsigned one. In this step, you will first create a signature and then sign your app with it.
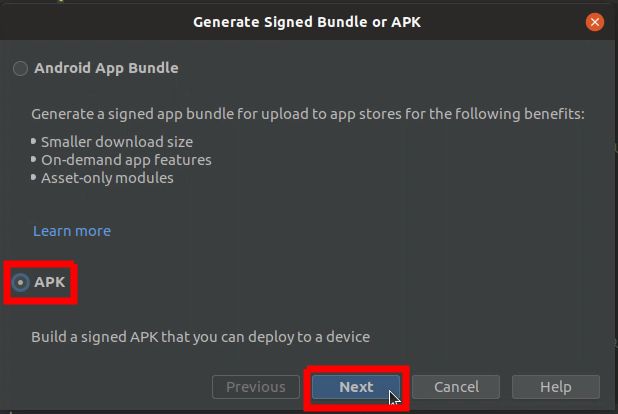
Click on Build and select Generate Signed Bundle/APK

I consider that you do not have knowledge about Android Development. If so, you should select the APK option and click Next.
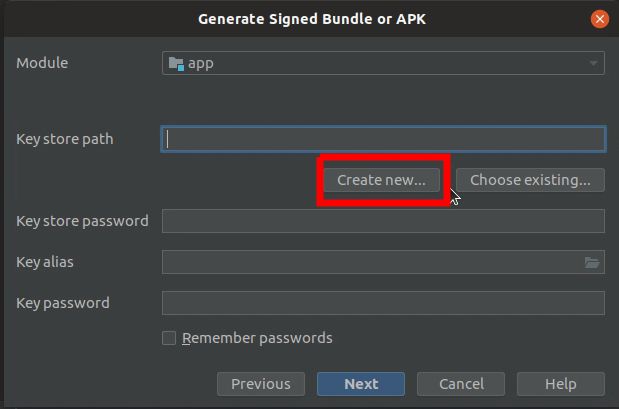
Create a new key by clicking the Create New Key button
Select the path where you want to save your key by clicking the button shown in the screenshot below.
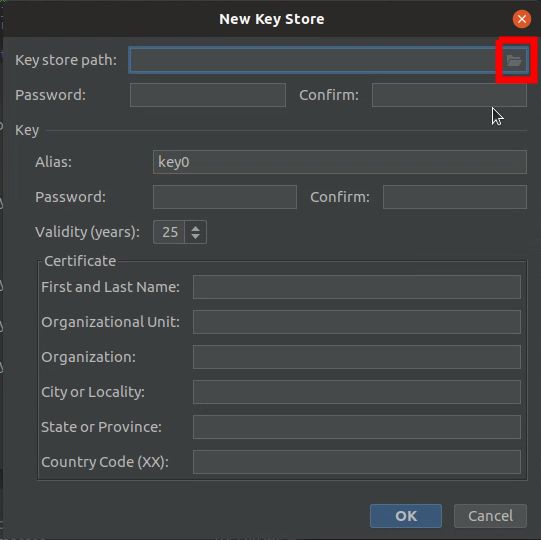
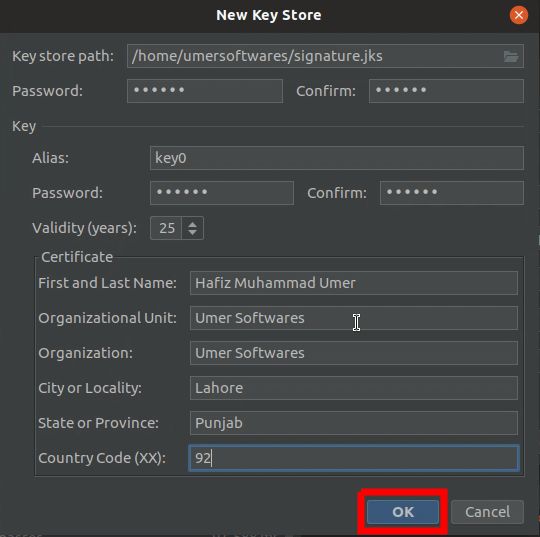
Fill in all the details. You must remember the password and key alias. Copy them to a safe place so that you do not lose them. After you’re done, click OK.
The details will be filled in automatically from the key (signature) you just created. Check “Remember passwords” and click Next.

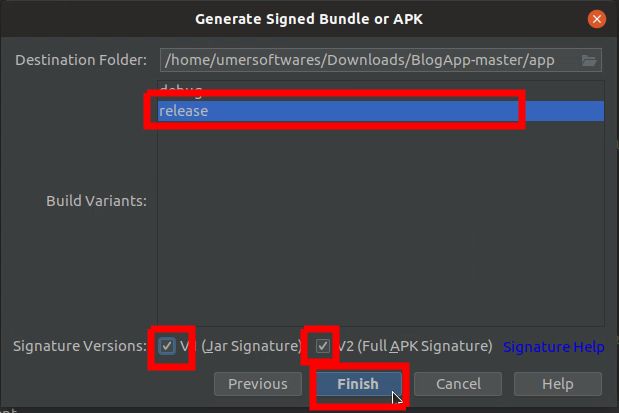
Select the Release variant. Check both v1 and v2 signature boxes and click Finish.
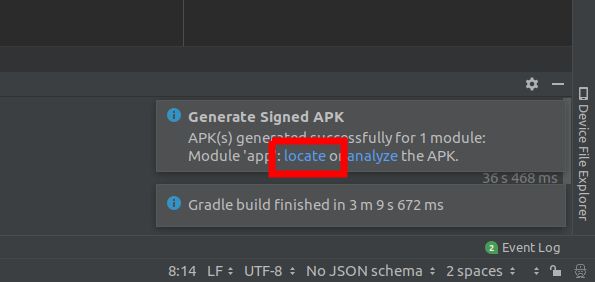
Wait for a few minutes until you see the following notification in Android Studio. Click the locate link in the notification to open the folder.
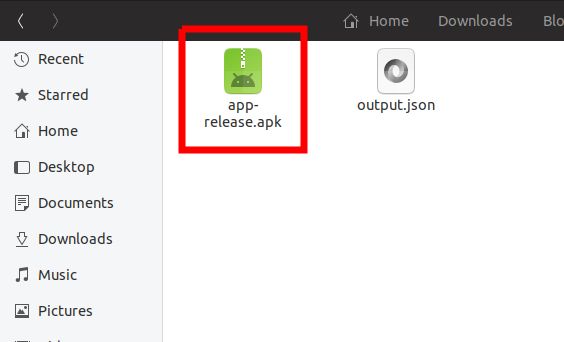
Open the release folder.
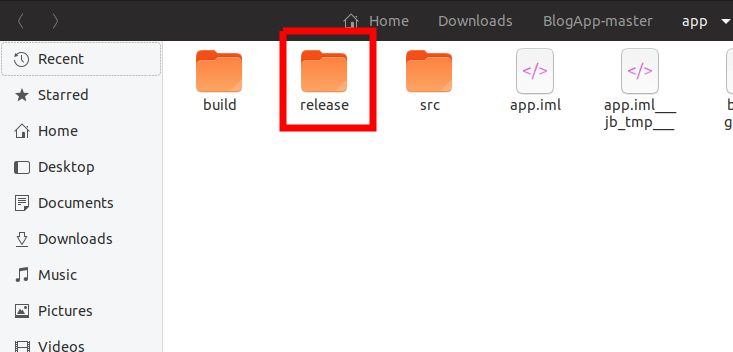
Your apk will be present in this folder. It is named app-release.apk. Copy it to your phone and install it. This is the same apk that you have to upload to Play Store.
Send Push Notifications
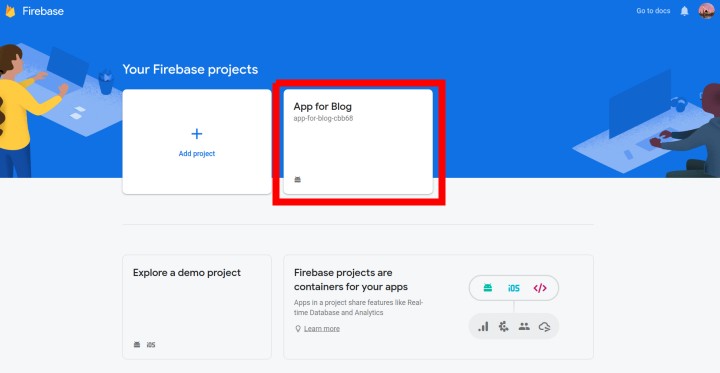
Now you have to test the push notifications. Visit console.firebase.google.com and select the project you created previously.
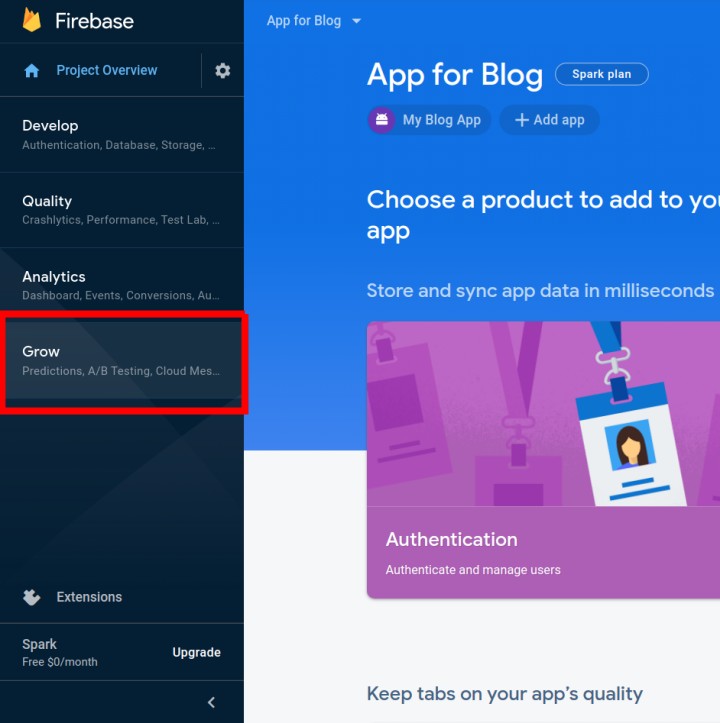
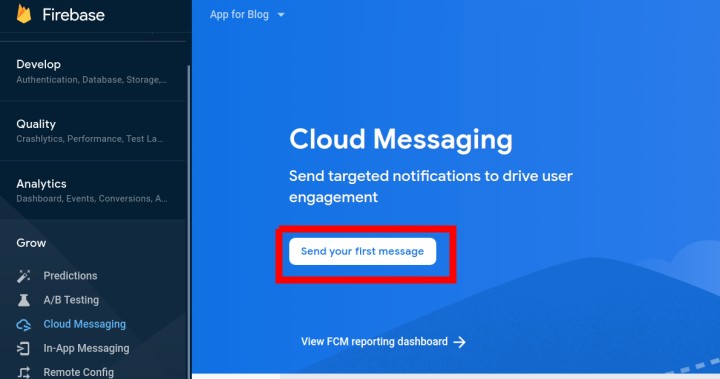
Click on the Grow option in the left pane.
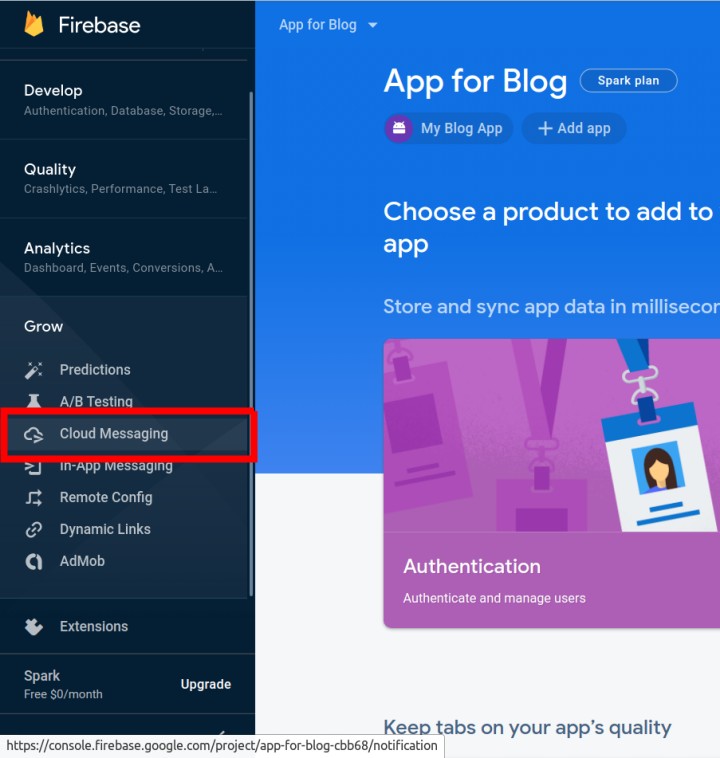
Choose Cloud Messaging from the menu.
Click on the Send your first message button.
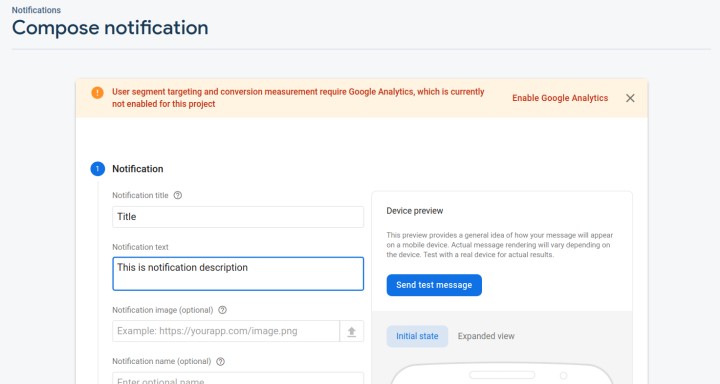
Enter the Notification Title and Description and then click Next.
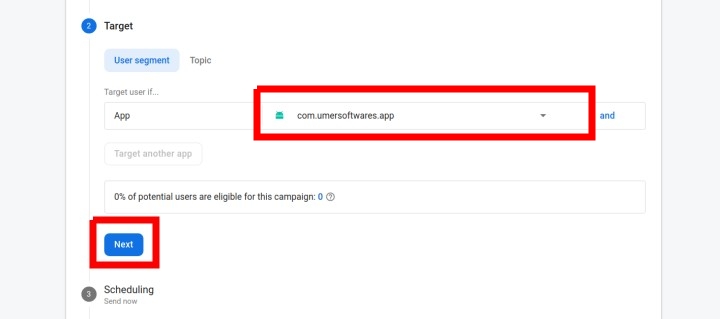
Select your app from the drop-down menu against the app option and click Next.
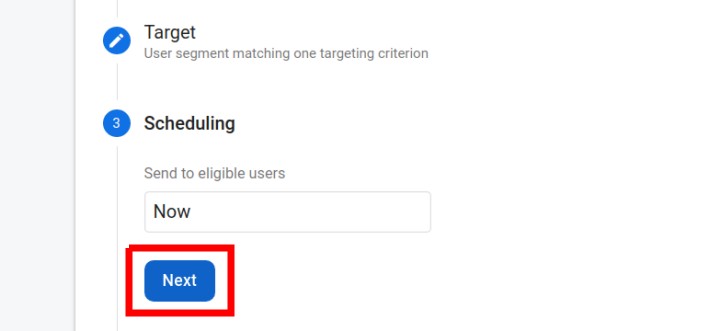
Leave the scheduling to Now and click Next.
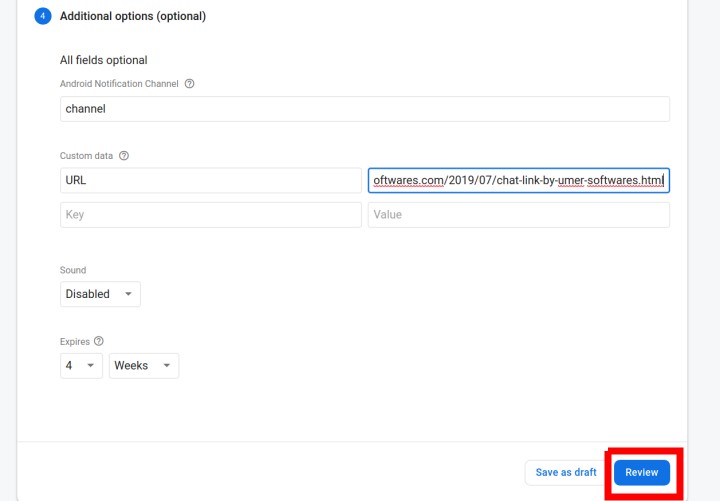
PAY MORE ATTENTION HERE. This step is more important.
- Enter the word channel (with all letters lowercase) in the Android Notification Channel Field.
- Enter the word URL (with all letters capital) in the Key field under the Custom Data section
- Enter the link of your blog post in the Value box against the URL key.
Click on Review.
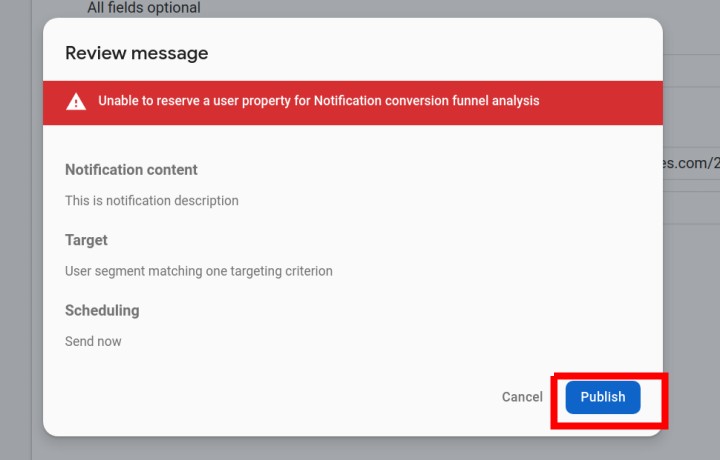
Click on Publish.
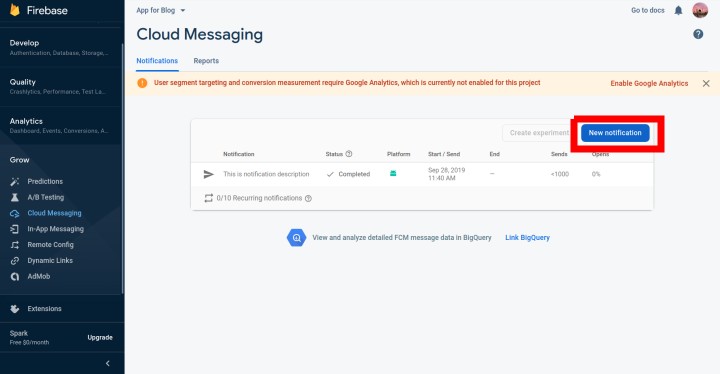
If you want to send more notifications, click the New Notification button. If you want to send push notifications to your app users in the future, the procedure will be the same. You can bookmark this post if you want.
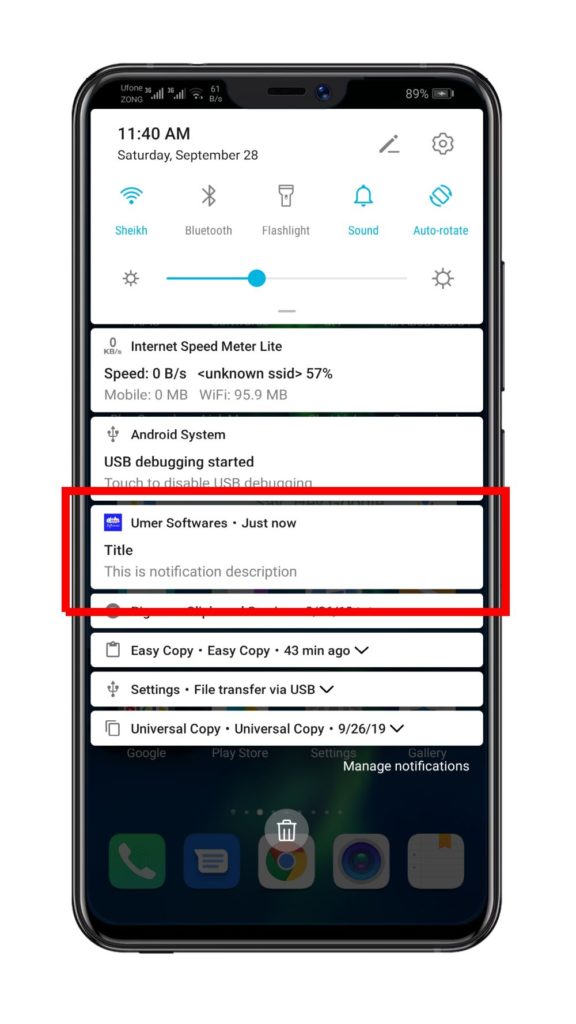
You will receive the notification on your phone if you have installed the app. On opening the notification, the URL that you have sent will be opened in the app.
You an see a video of the application working.
I hope this post helped you. If it did, download the application for my blog from Google Play Store and never miss any future post.
0 Comments